
일본에서 Garmin GPS를 사용하는 방법 (무료지도 다운로드)
Do you want to use your Garmin GPS device in Japan? If so this post is for you. We’ll show you the steps to downloading and installing OpenStreetMap on your Garmin so you can start exploring with your GPS today.
목차
일본 지도가 없습니까?
자전거 여행에 대한 흥분으로 일본에 도착했습니다.
당신은 자전거 훈련을 하고, 현지 문구를 공부하고, 먹고 싶은 음식 목록을 만들고, 방문할 모든 놀라운 장소를 계획했습니다.
도착하기 전에 모든 사이클링 경로를 Garmin에 업로드했으며 유럽이나 북미에서 장치를 켤 때지도가 올바르지 않은 것 같습니다. 그들은 이상하고 부서진 것처럼 보입니다.

이것은 해외 라이더에게 흔한 일입니다. 우리는 수많은 사이클리스트가 떠나기 전에 Garmin을 설정하고 확인했으며 여행 중에 지도, 경로 또는 작동하는 Garmin이 없다는 생각에 직면했습니다.
Thankfully, there is a free solution and I’ll outline the step by step process to get your Garmin device working in Japan today.

오픈스트리트맵 사용하기
일본에 있는 동안 Garmin을 정상적으로 작동시키는 몇 가지 방법이 있습니다.
One option is to buy the Garmin Map of Japan and install it on your Garmin. On top of having to pay for the maps, it’s actually pretty hard to navigate the Garmin website and find the correct download for Japan.

다른 옵션은 자원 봉사자와 기여자가 만든 무료 위키 세계 지도인 OpenStreetMap의 지도를 사용하는 것입니다. OpenStreetMap은 오픈 데이터이므로 OpenStreetMap과 그 기여자를 신용하는 한 자유롭게 사용할 수 있습니다.
We offer the data for download on our site and full credit goes to “© OpenStreetMap contributors”. You can read more about the foundation here and also view their copyright and license page here.
우리는 Garmin Edge Touring GPS에 OpenStreetMap을 설치했으며 지난 2 년 동안 문제없이 사용했습니다.
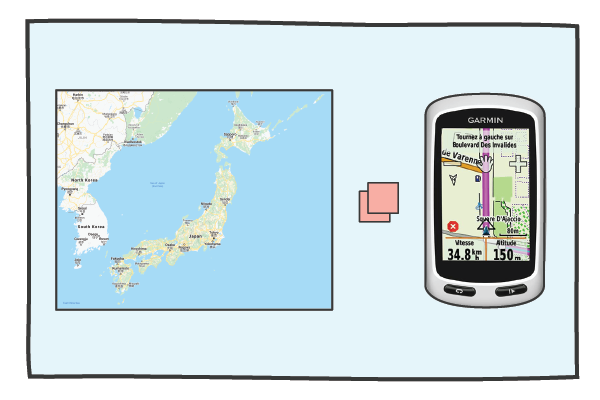
We bought our Garmin in Europe so it came with detailed maps of Europe of course but didn’t include the maps for Japan or for the rest of Asia.
우리는 일본에서 장치를 시작하고 실행하기 위해 아래 단계를 수행했으며 귀하의 장치에서도 작동하기를 바랍니다.
설치 단계 :
- Download the OpenStreetMap_Japan_contours file from the TMZ site.* – use google translate if needed.
- zip 파일의 압축을 풉니 다.
- Insert your SD-card into your SD-card reader. If you don’t have an SD-card reader you can connect your Garmin directly GPS to your computer using a USB cable. Make sure that the SD-card is in the GPS unit before you plug it into the computer
- Open the SD-card with the file manager or finder. If there isn’t a folder on the SD-card called Garmin, you need to create one. Garmin must start with a capital ‘G’
- Copy the gmappsupp.img file into the Garmin folder on the SD-card
- SD 카드를 안전하게 제거 또는 꺼내 Garmin에 삽입하거나 컴퓨터에서 Garmin을 꺼냅니다.
- 가민을 켭니다. "일본 OSM"을 활성화하고 다른 지도를 비활성화해야 합니다. 일본 OSM 지도를 활성화하는 방법은 GPS 장치에 따라 다릅니다. 다음 중 하나를 시도해 보십시오.
- 도구 > 설정 > 지도 > 지도 정보
- 지도 > 지도 정보 > 여행 페이지를 > 도구 > 지도 선택

*Use the top right zip file link for the most recent update with contours.
Video Support (Old site version)
다시 한 번, 우리는 Garmin Edge Touring에서이 프로세스를 수행했지만 Edge 530 / 705 / 810 / 820 및 1000 장치에서도 작동한다고 들었습니다.
Garmin Edge 투어링 사용에 대한 팁
Garmin GPS 사용 경험이 거의 또는 전혀 없는 경우 이 섹션은 사용자를 염두에 두고 작성되었습니다.
일반적으로 Garmin Edge Touring은 라이딩 전에 경로가 준비되고 GPX 경로 파일이 미리 업로드 된 경우 가장 잘 작동합니다.
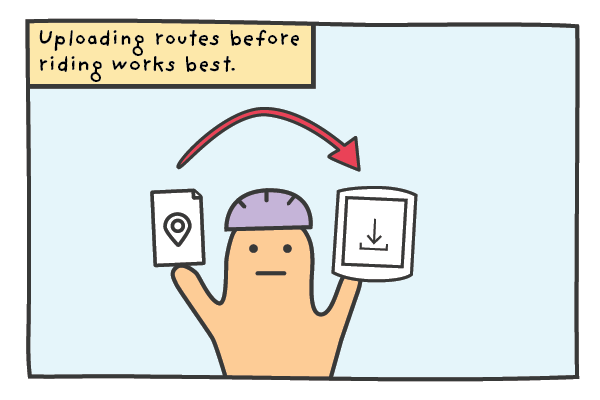
If you have your routes prepared and you are renting a RBRJ GPS unit you can send the GPX files over and we’ll happily upload the routes to the GPS unit before your rental starts.
If you would like to ride a RBRJ route you’ve seen on our blogs or Strava, just let us know the routes and we’ll make sure it’s uploaded and ready for your rental.
자신의 경로 업로드 (GPX 파일)
여러 날 투어에 참여하고 자신의 PC를 가져오는 라이더를 위해 Garmin USB 케이블도 제공하므로 이동 중에도 경로(GPX 파일)를 장치에 직접 업로드할 수 있습니다.
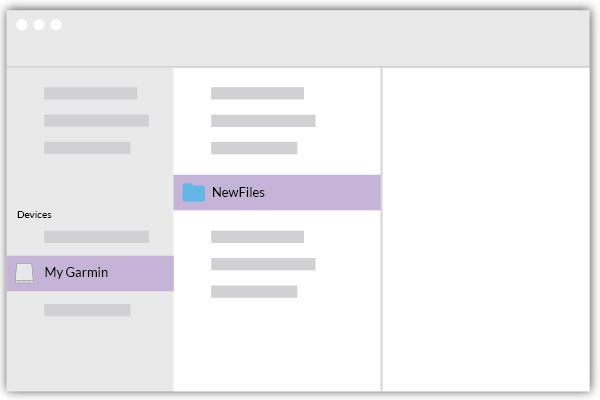
새 경로를 업로드하려면 다음 단계를 따르세요.
- USB 케이블을 PC에 연결하고 가민을 연결하십시오.
- Garmin 파일과 이름없는 파일이 바탕 화면에 나타납니다.
- Garmin 파일을 열고 '새 파일'폴더를 찾습니다.
- 경로 파일을 새 파일로 끌어다 놓습니다.
- 전송을 기다렸다가 Garmin을 안전하게 제거하십시오.
경로를 업로드한 후 장치 메뉴에서 아래 단계에 따라 액세스할 수 있습니다.
- 어디로
- 저장
- 코스
- 경로 이름
- 말을 타다
경로 플래너에 대한 참고 사항
경로를 준비하지 않은 경우 Garmin에 내장된 경로 플래너를 사용할 수 있지만 이를 최후의 수단으로 사용하려고 합니다. Garmin이 생성하는 경로는 적중하고 빗나가며 작은 화면을 사용하여 출발점과 목적지를 선택하는 데 시간이 많이 걸릴 수 있습니다.
우리는 사전로드 된 경로를 탐색 할 때 장치가 정말 빛나고 복잡한 섹션에서 제공하는 더 미묘한 방향에 지속적으로 깊은 인상을 받았습니다.
마무리
If you want to use your own Garmin in Japan OpenStreetMap is a lifesaver. Just follow the instructions in this post and hopefully you’ll be navigating the cities, towns and mountains like a local.
If you don’t own a GPS but are thinking of buying or renting one for your trip we recommend getting one. The device is great at navigating and by leaving the directions to the GPS unit you won’t have to check your phone as much meaning you can save battery and spend more time taking in the sights.
Has anyone used the file and instructions in this blog successfully? Has anyone had any problems? We’d love to hear your experiences so get in touch if you have any questions or feedback.
안전하고 행복한 사이클링을 즐기세요!